2 minutes
Hugo集成Gitalk评论插件
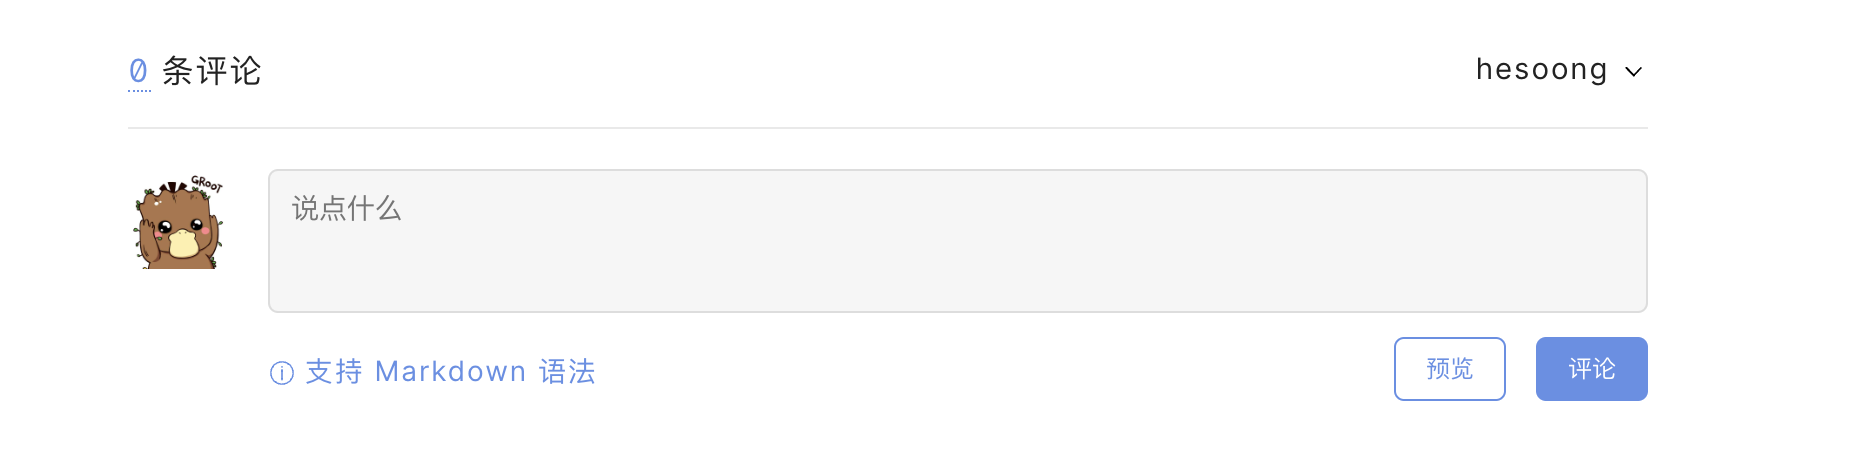
本文主要介绍hugo 集成gitalk, 效果图如下:
在github注册一个public 的代码仓库
在github注册一个auth application
在博客模版中配置gitalk
添加gitalk.html
添加文件gitalk.html到 /partial/gitalk.html
{{ if .Site.Params.enableGitalk }}
<div id="gitalk-container"></div>
<link rel="stylesheet" href="https://cdn.jsdelivr.net/npm/gitalk@1/dist/gitalk.css">
<script src="https://cdn.jsdelivr.net/npm/gitalk@1/dist/gitalk.min.js"></script>
<!-- <link rel="stylesheet" href="https://unpkg.com/gitalk/dist/gitalk.css">
<script src="https://unpkg.com/gitalk/dist/gitalk.min.js"></script> -->
<script>
	const gitalk = new Gitalk({
		clientID: '{{ .Site.Params.Gitalk.clientId }}',
		clientSecret: '{{ .Site.Params.Gitalk.clientSecret }}',
		repo: '{{ .Site.Params.Gitalk.repo }}',
		owner: '{{ .Site.Params.Gitalk.owner }}',
		admin: ['{{ .Site.Params.Gitalk.owner }}'],
		id: location.pathname, // Ensure uniqueness and length less than 50
		distractionFreeMode: false // Facebook-like distraction free mode
	});
	(function () {
		if (["localhost", "127.0.0.1"].indexOf(window.location.hostname) != -1) {
			document.getElementById('gitalk-container').innerHTML = 'Gitalk comments not available by default when the website is previewed locally.';
			return;
		}
		gitalk.render('gitalk-container');
	})();
</script>
{{ end }}
并在 layouts/posts/single.html文件中添加 {{ partial “gitalk.html” . }}代码段
...

{{ partial "pagination-single.html" . }}

{{ partial "gitalk.html" . }}

{{ if .Site.DisqusShortname }}

...
在博客配置文件中配置gitalk
params:
	enableGitalk: true
	gitalk:
		enable: true
		owner: your-github-username
		repo: your-repo-name
		clientId: your-client-id
		clientSecret: your-client-secret
		admin_user: your-github-username
		proxy: https://netnr-proxy.cloudno.de/https://github.com/login/oauth/access_token
然后就可以部署代码检查效果了。
需要注意
- 本地地址(包含localhost, 127.0.0.1)不会显示评论插件
- 首次使用插件或者新发布博客,需要admin_user 进入博客界面进行评论初始化(访问博客页面会在创建的public仓库创建一个issue)
- 插件会以博客名称作为issue 名称,文章的relative path 为issue tag, 由于github 的tag 字数限制为50。否则初始化博客评论会报错。 因此应控制文件名,文件路径不要超长。